Hey there! I'm a supplier of Honeycomb Building Panels, and today I'm gonna chat about the tools you need to install these cool panels. Honeycomb building panels are super handy in construction projects for various reasons. They're lightweight, strong, and offer great insulation. So, if you're thinking of using Honeycomb-building-panels in your next project, let's dive into the tools required for a smooth installation.
Measuring Tools
First things first, you gotta get your measurements right. A good tape measure is an absolute must. You'll use it to measure the dimensions of the area where you're installing the panels. Make sure it's long enough to cover large distances, like 25 feet or more. A digital tape measure can be even better as it gives you more accurate readings.
Next up is a level. Whether it's a spirit level or a laser level, this tool ensures that your panels are installed straight and level. It's crucial for a professional-looking finish. If the panels aren't level, it could lead to problems down the road, like gaps or uneven surfaces.
Cutting Tools
Once you have your measurements, you'll likely need to cut the panels to fit. A circular saw is a popular choice for cutting honeycomb building panels. It's fast and can make clean, straight cuts. Just make sure you use a blade that's suitable for cutting through the material of the panels. A carbide-tipped blade usually works well.
For more intricate cuts or when you need to make curves, a jigsaw can be very useful. It allows you to maneuver the blade around different shapes and angles. And if you're dealing with small pieces or need to make precise cuts, a utility knife can be handy. You can score the panel and then snap it along the score line for a clean break.
Fastening Tools
You're gonna need some tools to fasten the panels in place. Screwdrivers are a basic but essential tool. If you're using screws to attach the panels, make sure you have a Phillips or flathead screwdriver, depending on the type of screws. A power drill can make the job go much faster. You can use it to predrill holes in the panels and then drive the screws in.
Nail guns are another option for fastening. They're quick and efficient, especially for large projects. There are different types of nail guns, like framing nail guns and finish nail guns. Choose the one that's appropriate for your project and the type of honeycomb panels you're using.
Adhesives and their Application Tools
In some cases, you might use adhesives to bond the honeycomb building panels. A caulking gun is a common tool for applying adhesives like silicone caulk. It allows you to control the flow of the adhesive and apply it evenly. You'll also need a putty knife to smooth out the adhesive and remove any excess.
When using adhesives, make sure you choose the right one for the panels and the surface you're attaching them to. Check the manufacturer's recommendations to ensure a strong and long-lasting bond.
Safety Tools
Safety should always come first. You'll need safety glasses to protect your eyes from flying debris while cutting or drilling. Ear protection is also important, especially if you're using power tools for a long time. A dust mask is a must to prevent inhaling dust particles generated during the installation process.
Gloves are essential to protect your hands from cuts, abrasions, and chemicals. Depending on the type of work you're doing, you might also need knee pads if you're kneeling on the floor for long periods.
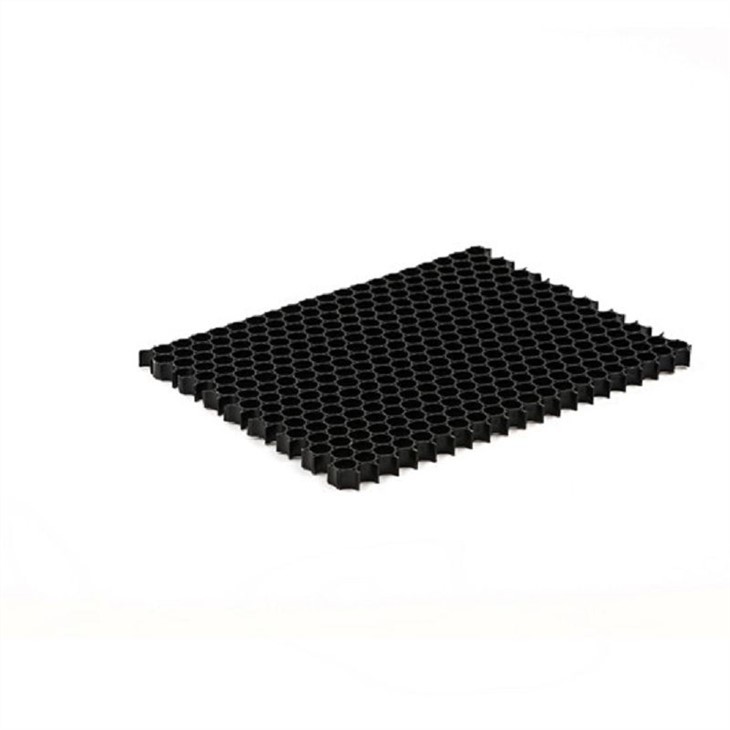
Specialized Tools for Thermoplastic Honeycomb Core Panels
If you're working with Thermoplastic Honeycomb Core panels, there are a few specialized tools you might need. A heat gun can be used to soften the thermoplastic material for bending or shaping. It allows you to create custom curves and angles for your panels.
A plastic welder is another tool that can be useful for joining thermoplastic honeycomb core panels together. It melts the plastic to create a strong, seamless bond. Just make sure you have the right techniques and safety precautions when using these tools.
Preparation and Cleanup Tools
Before you start installing the panels, you'll need to clean the surface where the panels will be attached. A broom and a vacuum cleaner can be used to remove dust, dirt, and debris. A damp cloth can be used to wipe down the surface and remove any remaining contaminants.
After the installation is complete, you'll need some tools for cleanup. A utility knife can be used to trim any excess edges or remove tape. A trash bag is essential for collecting all the waste materials, like cut - off pieces of panels, packaging, and scraps.
Tips for Using the Tools
When using power tools, always read the user manual first. This will help you understand how to operate the tools safely and effectively. Make sure you keep your tools in good condition by cleaning and maintaining them regularly.
When cutting the panels, take your time and make accurate cuts. Measure twice, cut once! This will save you time and materials in the long run. And when using adhesives, follow the curing time recommended by the manufacturer to ensure a strong bond.
Conclusion
So, there you have it! These are the main tools you need to install honeycomb building panels. Whether you're a DIY enthusiast or a professional contractor, having the right tools is crucial for a successful installation.
If you're interested in purchasing Honeycomb-building-panels or Thermoplastic Honeycomb Core panels for your next project, just reach out for a chat. We're here to help you with all your panel needs, from choosing the right type to offering advice on installation.
References
- "Construction Tools Handbook" by John Doe
- Manufacturer's guides for honeycomb building panels and thermoplastic honeycomb core products.