Installing PP honeycomb core can be a straightforward process if you follow the right steps. As a trusted PP honeycomb core supplier, we're here to guide you through the installation process, ensuring that you get the most out of our high - quality products.
Understanding PP Honeycomb Core
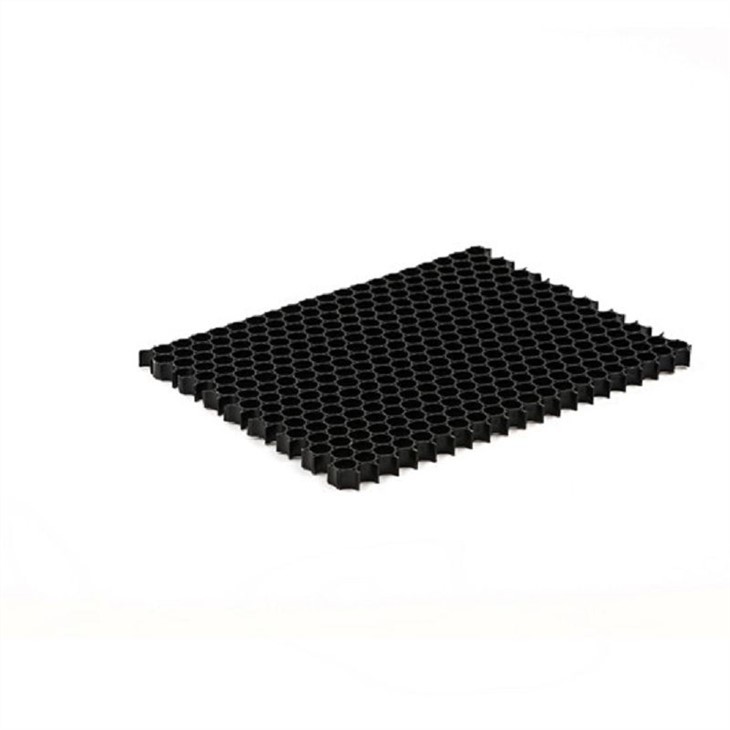
PP honeycomb core, made from polypropylene, is a lightweight and strong material known for its excellent stiffness - to - weight ratio. It finds applications in various industries, including aerospace, automotive, and construction. The Thermoplastic Honeycomb Core is a type of PP honeycomb core that offers unique thermoplastic properties, making it suitable for a wide range of manufacturing processes.
Tools and Materials Required
Before you start the installation, gather the necessary tools and materials. You'll need a measuring tape, a sharp utility knife, a straightedge, an adhesive suitable for bonding PP honeycomb core (check the manufacturer's recommendations), and safety equipment such as gloves and safety glasses.
Step 1: Preparation
- Surface Inspection: Examine the surface where you plan to install the PP honeycomb core. It should be clean, dry, and free of any debris, dust, or grease. If the surface is uneven, use sandpaper to smooth it out.
- Measurement: Measure the area where the honeycomb core will be installed. Use a measuring tape to get accurate dimensions. Make sure to account for any cutouts or irregular shapes.
- Cutting the Core: Based on your measurements, cut the PP honeycomb core to the appropriate size. Use a sharp utility knife and a straightedge to ensure clean, straight cuts. For more complex shapes, you may need to use a jigsaw or a CNC cutter.
Step 2: Applying Adhesive
- Adhesive Selection: Choose an adhesive that is compatible with PP honeycomb core. Some adhesives may require surface treatment of the PP material to ensure proper bonding. Follow the manufacturer's instructions for the adhesive you've selected.
- Applying the Adhesive: Apply the adhesive evenly to the surface where the honeycomb core will be placed. You can use a brush, roller, or a spray gun depending on the type of adhesive and the size of the area. Make sure to cover the entire surface, but avoid applying too much adhesive as it can cause mess and affect the bonding quality.
Step 3: Installing the Honeycomb Core
- Placement: Carefully place the cut honeycomb core onto the adhesive - coated surface. Align it properly according to your measurements. Press the core firmly onto the surface to ensure good contact with the adhesive.
- Securing the Core: Use weights or clamps to hold the honeycomb core in place while the adhesive dries. This will prevent any movement or shifting during the curing process. Follow the adhesive manufacturer's recommended curing time.
Step 4: Finishing Touches
- Trimming: Once the adhesive has fully cured, trim any excess honeycomb core using a utility knife. Make sure the edges are smooth and even.
- Inspection: Inspect the installed honeycomb core for any gaps, bubbles, or uneven areas. If you find any issues, you may need to re - apply adhesive or make adjustments.
Applications in Building Panels
PP honeycomb core is widely used in Honeycomb - building - panels. In building applications, the installation process may have some additional considerations. For example, when installing honeycomb - building panels on a wall, you need to ensure proper structural support. You may need to use additional fasteners such as screws or nails in combination with the adhesive.
Quality Assurance
As a supplier, we ensure that our PP honeycomb core meets the highest quality standards. Our products are tested for strength, durability, and chemical resistance. However, proper installation is also crucial to maintain the performance of the honeycomb core.
Troubleshooting
- Poor Bonding: If you experience poor bonding between the honeycomb core and the surface, check the adhesive compatibility and surface preparation. You may need to clean the surface more thoroughly or use a different adhesive.
- Warping or Deformation: Warping can occur if the honeycomb core is exposed to high temperatures or improper storage. Make sure to store the core in a cool, dry place and avoid exposing it to direct sunlight or heat sources during installation.
Why Choose Our PP Honeycomb Core
- High - Quality Material: Our PP honeycomb core is made from premium polypropylene, ensuring excellent mechanical properties.
- Customization: We offer customization options in terms of size, thickness, and cell structure to meet your specific requirements.
- Technical Support: Our team of experts is available to provide technical support throughout the installation process.
Contact Us for Procurement
If you're interested in purchasing our PP honeycomb core for your projects, we invite you to reach out to us. Our sales team is ready to assist you with product selection, pricing, and any other inquiries you may have. Whether you're working on a small - scale DIY project or a large - scale industrial application, we have the right PP honeycomb core solution for you.
References
- "Plastics in Construction: A Guide to Selection and Use" by John Summerscales
- "Handbook of Thermoplastics" edited by O. Olabisi