Installing a PET honeycomb panel can be a rewarding project, whether you're working on a small DIY endeavor or a large - scale commercial installation. As a supplier of PET honeycomb panels, I'm here to guide you through the entire installation process to ensure a smooth and successful outcome.
Understanding PET Honeycomb Panels
Before we dive into the installation process, it's essential to understand what PET honeycomb panels are. PET, or polyethylene terephthalate, is a thermoplastic polymer resin. The honeycomb structure within these panels provides excellent strength - to - weight ratio, making them ideal for various applications such as interior decoration, furniture manufacturing, and even in the aerospace industry.
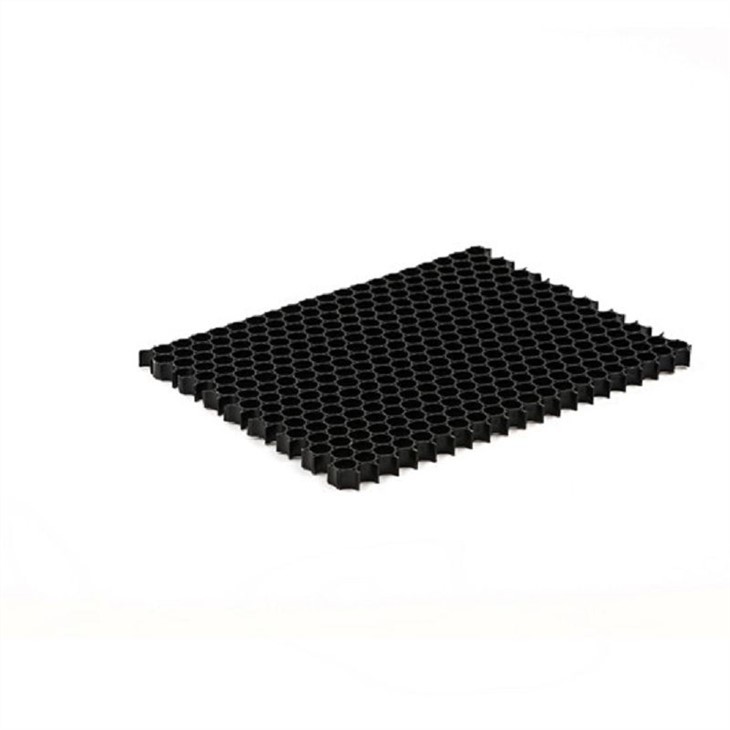
The Thermoplastic Honeycomb Core is the heart of the PET honeycomb panel. It consists of a series of hexagonal cells that are bonded between two face sheets. This design not only enhances the panel's rigidity but also offers good insulation properties, both thermally and acoustically.
Pre - installation Preparations
1. Site Inspection
The first step is to conduct a thorough site inspection. Measure the area where the PET honeycomb panels will be installed. Check for any uneven surfaces, protrusions, or other obstacles that could affect the installation. Make sure the surface is clean, dry, and free from dust, debris, and grease. Any imperfections on the installation surface can lead to uneven panel placement and affect the overall appearance and performance of the panels.
2. Gather Tools and Materials
You'll need a set of tools for the installation. These typically include a measuring tape, a straightedge, a utility knife, a drill, screws or nails, adhesive (if required), and a level. Additionally, make sure you have all the necessary PET honeycomb panels and any additional components such as trim pieces or edge protectors.
3. Panel Preparation
Before installation, carefully inspect each panel for any damage or defects. If you find any issues, contact your supplier immediately. Also, if the panels need to be cut to size, use a sharp utility knife or a saw designed for cutting plastic materials. Make sure to measure and mark the panels accurately before cutting to ensure a precise fit.
Installation Steps
1. Marking the Installation Area
Using a measuring tape and a straightedge, mark the position of the first panel on the installation surface. This will serve as a guide for the rest of the installation. Make sure the markings are straight and level. You can use a chalk line or a laser level to ensure accuracy.
2. Securing the First Panel
If you're using screws or nails, pre - drill holes in the panel to prevent cracking. Then, align the panel with the markings and secure it to the surface. Start from one corner and work your way across, ensuring that the panel is firmly attached. If you're using adhesive, apply it evenly to the back of the panel or the installation surface according to the manufacturer's instructions. Press the panel firmly onto the surface and hold it in place for a few minutes to allow the adhesive to set.
3. Installing Subsequent Panels
Once the first panel is securely in place, install the remaining panels one by one. Make sure to align the edges of the panels carefully to create a seamless appearance. You may need to use a spacer between the panels to ensure consistent spacing. Continue this process until all the panels are installed.
4. Finishing Touches
After all the panels are installed, trim any excess material using a utility knife. Install any trim pieces or edge protectors to give the installation a professional look. Check the overall installation with a level to ensure that all the panels are flat and level.
Applications of PET Honeycomb Panels
PET honeycomb panels have a wide range of applications. In the construction industry, they are often used for Honeycomb - building - panels. They can be used as wall cladding, ceiling panels, or partition walls. Their lightweight nature makes them easy to handle during installation, and their strength ensures long - term durability.
In the furniture industry, PET honeycomb panels are used to make tabletops, cabinet doors, and shelves. The panels can be easily customized in terms of size, color, and finish, allowing for a wide variety of design options.
Troubleshooting
During the installation process, you may encounter some common issues. If the panels don't fit together properly, double - check your measurements and make sure the panels are cut accurately. If there are gaps between the panels, you can use caulk or filler to fill them.
If the panels are not adhering properly when using adhesive, check the surface cleanliness and the adhesive application. Make sure you're following the manufacturer's instructions regarding the adhesive's drying time and application temperature.
Conclusion
Installing PET honeycomb panels is a relatively straightforward process if you follow the proper steps. As a PET honeycomb panel supplier, I'm committed to providing high - quality products and comprehensive support to our customers. Whether you're a professional contractor or a DIY enthusiast, our panels offer an excellent solution for your projects.
If you're interested in purchasing PET honeycomb panels for your next project, we'd love to hear from you. Our team of experts can provide you with detailed product information, technical support, and help you choose the right panels for your specific needs. Contact us to start the procurement discussion and take the first step towards a successful installation.
References
- Manufacturer's installation guides for PET honeycomb panels
- Industry standards for plastic panel installation
- Technical literature on thermoplastic honeycomb cores